
This guide walks you through the workflows you will use on the Henapp Educare platform. Each section explains a task with clear, step-by-step instructions. Use the screenshot space beside each section to paste your own captures (Windows + Shift + S), or ask your IT lead to add them.
1. First-time login
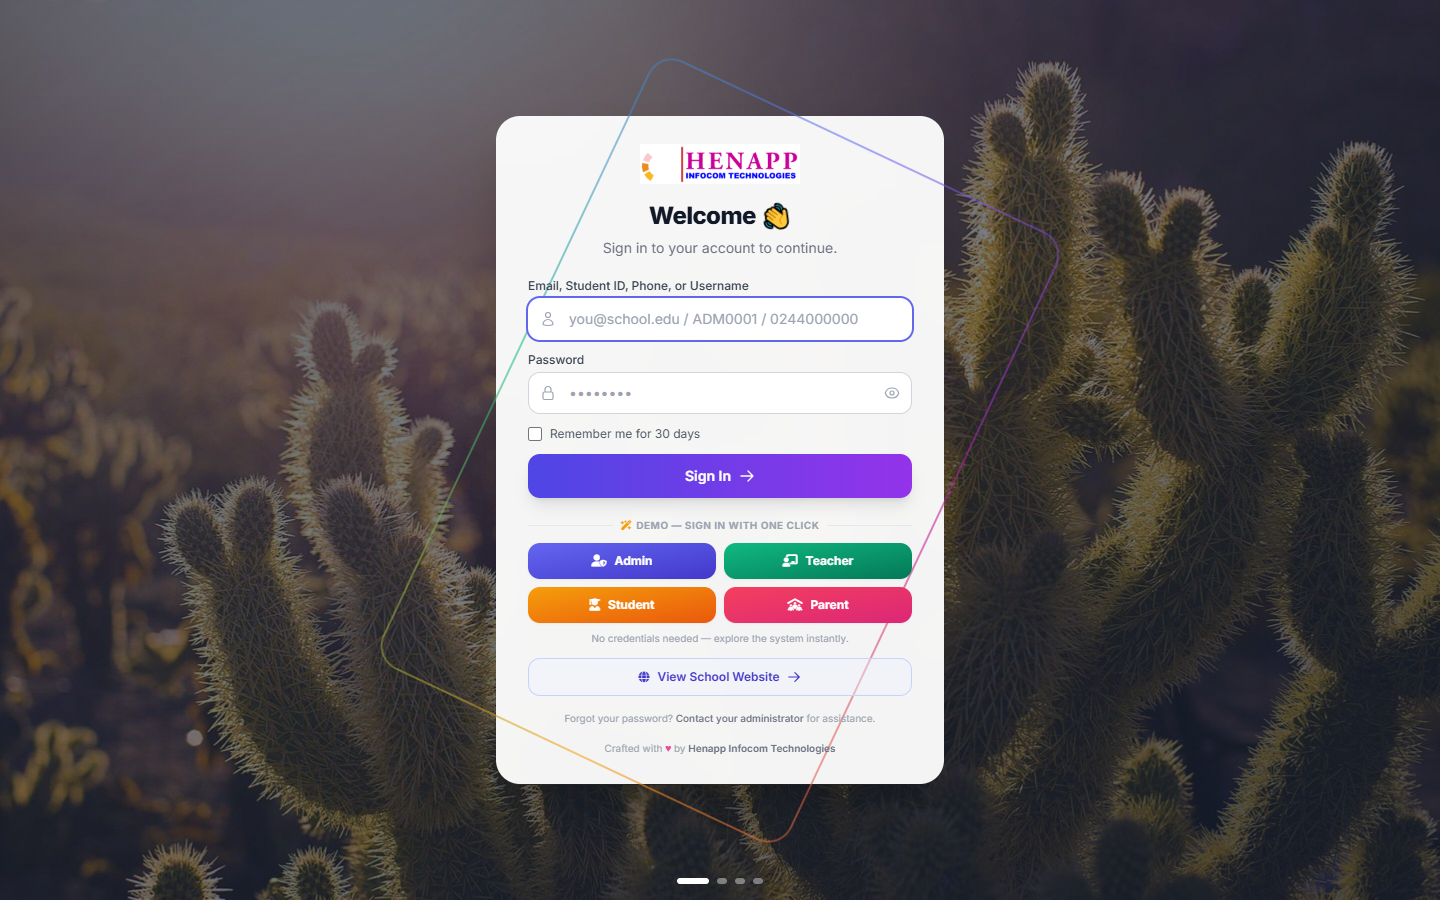
Your school administrator gives you a login URL plus your email/username and a temporary password. The login URL is your school portal address with /login at the end.
Step by step
- Open the login URL in your browser — Chrome, Edge, or any modern browser.
- Type your email address (or your school-assigned username) in the first box.
- Type your password in the second box. Passwords are case-sensitive.
- Tick “Remember me” only on a device you alone use. Leave it unticked on shared or family devices.
- Click “Sign In”.
First thing to do: change your password
- Click your name in the top-right corner of the screen.
- Choose “Profile” (or “My Profile”) from the dropdown menu.
- Find the “Change Password” section.
- Type your current temporary password, then your new password twice.
- Click “Update Password”.
If you forget your password
- Click “Forgot password?” on the login page. If your school has set up email, a reset link is sent to you.
- Or ask your school administrator to reset it — they can set a temporary password for you from the admin panel.
Never share your password. Teachers see real student and school data — treat your login like a bank login. Always sign out on a shared computer.
2. Your teacher dashboard
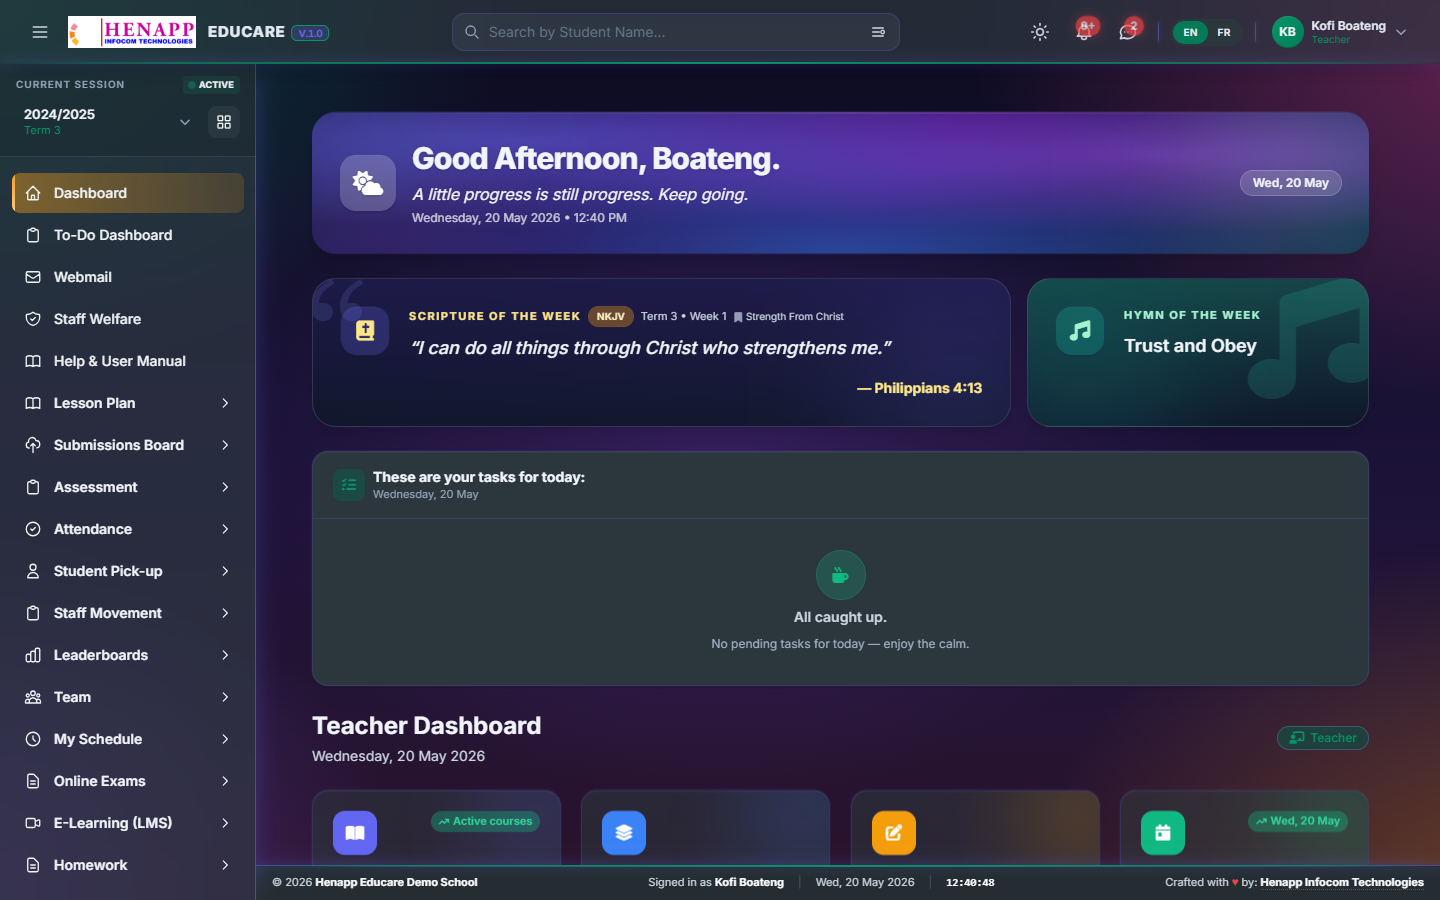
After login you see your personal dashboard — everything for today’s teaching is one click away.
- Today’s schedule — every period you teach today, with class and subject.
- Quick links — mark attendance, enter scores, set homework.
- Pending tasks — homework awaiting grading, registers not yet taken.
- My classes — every class and subject you teach this term.
- Recent communications — messages from admin or parents.
The To-Do board
Sidebar → To-Do collects everything that needs your attention — ungraded homework, missing scores, pending lesson plans — in one list, alongside student leaderboards for online exams, e-learning, and the library.
3. Your timetable
- Sidebar → My Schedule → My Timetable.
- The grid shows your week — every period, the class and subject for each slot.
- Click a cell to see the class roster for that period.
- Use the printer icon to print or save your timetable as a PDF.
4. Marking daily attendance
Take a register for each class you teach, every school day.
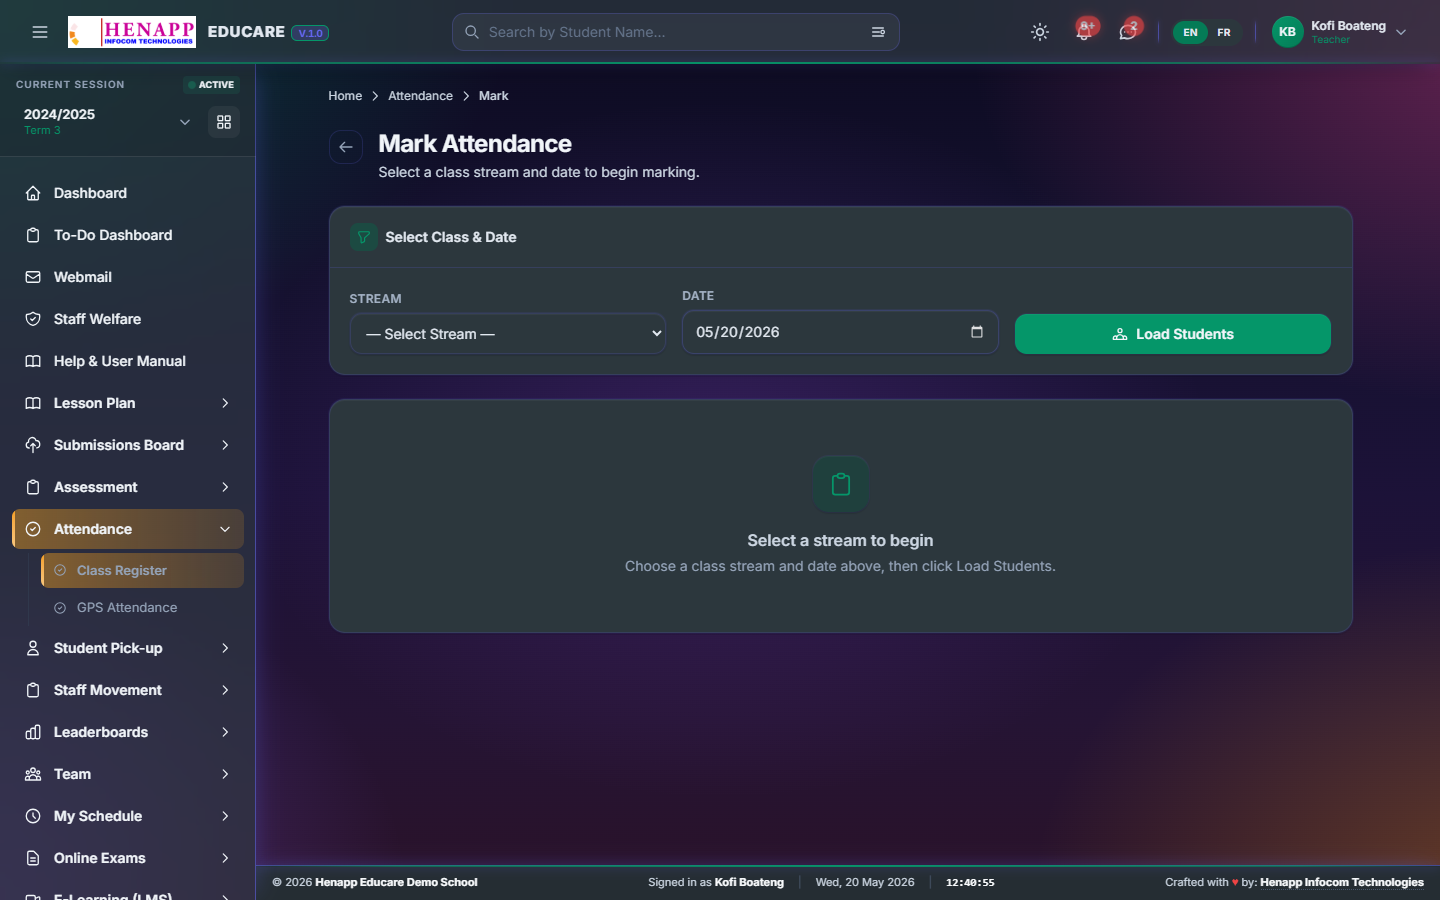
- Sidebar → Attendance → Class Register.
- Pick the class and date (today by default). If you're the class teacher of exactly one section, the system pre-selects it for you.
- For each student click Present, Absent, or Late.
- Add a reason for an absence if you know it.
- Click “Save” at the bottom — the register does not save on its own.
Four roles can mark: the grade-level class teacher, the grade-level assistant class teacher, a section-level class teacher, or a section-level assistant. Any one is enough. If you don't see your class in the Stream dropdown, ask your administrator to add you as one of those four on Academic → Class Teachers.
Parents of absent students get an SMS within about a minute (if auto-alerts are on). The student’s attendance percentage updates instantly and feeds the end-of-term report card.
5. Recording assessment scores
Continuous-assessment and exam scores feed straight into report cards. The system uses templates — one assessment template per academic year + term + level + variant — and you only see the templates that cover the classes you teach.
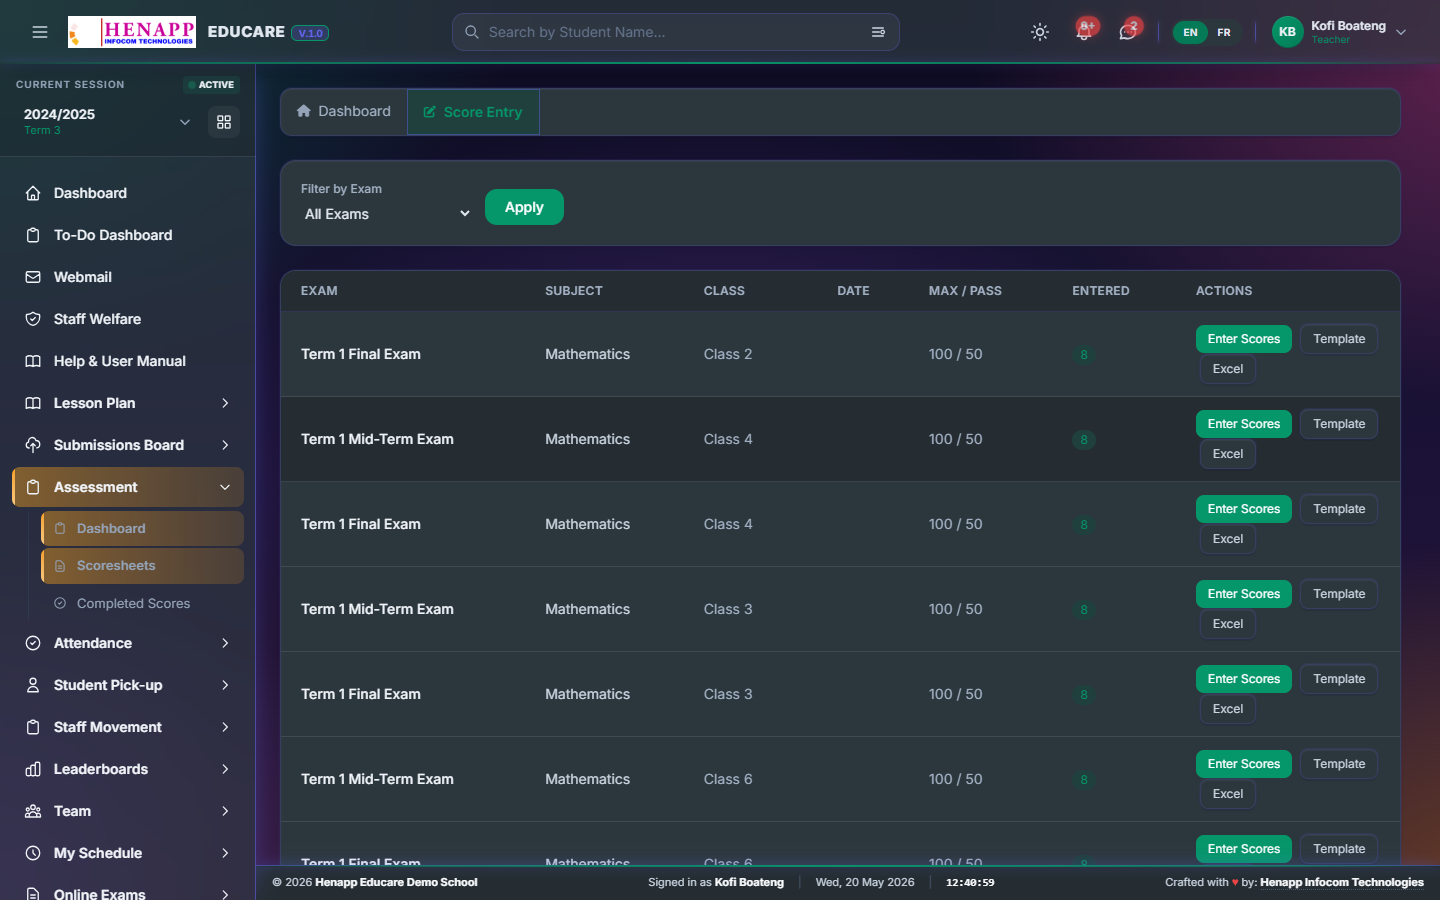
- Sidebar → Assessment → Scoresheets (sidebar) OR Score Entry (Assessment top tab).
- If you teach exactly one class / level, you go straight to the Score Entry dashboard — a card for your class with its subjects listed.
- If you cover multiple templates (e.g. a Primary template AND a JHS template), you first see a list — click Scores on the template you want.
- On the Score Entry dashboard, pick your class card → pick a subject. A grid appears — type each student's score and Tab to the next row.
- Click 'Save All' at the bottom. Scores can be edited until the template is locked.
- Detailed-variant templates also let you record Effort, Behaviour, and per-student Comments from the same dashboard.
- You can attach a short comment phrase per student for the report card.
6. The Submissions Board — exam questions
When the school opens a submission window, you upload your exam question papers there for approval.
- Sidebar → Submissions Board.
- Open the active window and upload your question paper for each subject you teach.
- Add a remark to the submission if you need to explain anything.
- An admin reviews and approves or disapproves it — you can see the decision and reply in the discussion thread.
- Re-upload a corrected paper if a submission is sent back.
7. Setting and grading homework
7.1 Create a homework assignment
- Sidebar → Homework → Create.
- Pick the class and subject; set a title, due date, and instructions.
- Use the rich-text editor — headings, bullets, links, even images.
- Optionally attach a PDF worksheet.
- Save as a draft, or Publish — publishing notifies parents and students immediately.
7.2 Grade submitted homework
- Sidebar → Homework → open an assignment.
- You see each student’s status — Submitted, Late, or Not Submitted.
- Open a submission to read the text or view uploaded files.
- Add a score and written feedback, then return it to the student.
8. Lesson plans
- Sidebar → Lesson Plans → Create.
- Pick the class, subject, week, and day.
- Fill the template — Topic, Objectives, Resources, Activities, Evaluation.
- Save as a draft, or submit for HOD approval if your school requires it.
- The lesson-plan tracker shows how much of your yearly scheme you have completed.
- When you (or your HOD) opens an uploaded .docx or .pptx file, the file-show page now offers a green 'Preview online' button that renders the document in the browser via Microsoft's Office Online viewer — no download needed. 'Open in new tab' and 'Download file' still work as before. PDFs continue to preview inline.
9. Online exams and e-learning
- Online Exams — build an on-screen exam, set the questions and timing, and publish it to a class.
- E-Learning (LMS) — create a course, upload video lessons, and add quizzes and assignments.
- Pasco — browse the archive of past exam questions for revision material.
- Video Meetings — schedule a Google Meet or Zoom virtual class.
10. Behaviour and incidents
- Behaviour — Sidebar → Behaviour → Add. Record positive recognition or a concern; major incidents notify the parent.
- Incident Log — if you are a class teacher, record daily classroom safety incidents here.
- Houses — if you lead a house, manage its members and leadership threads.
11. Communicating with parents
- Sidebar → Communication → Compose. As a class teacher you can message the parents of your class.
- Pick “Parents of my class”, type the message, tick SMS and In-app, then send or schedule.
- Reply to an individual parent from the in-app notifications.
- Staff Meeting is the internal noticeboard for staff-to-staff posts and comments.
12. Viewing student profiles
- Top header → Search → type a student name → click the result.
- The profile opens with bio, parent contacts, attendance, scores, homework, and behaviour.
- You only see students in the classes you teach or the class you are class teacher of.
13. Quick reference card
| I want to… | Go to |
|---|---|
| Mark attendance | Attendance → Class Register |
| Enter exam scores | Assessment → your scoresheet |
| Set homework | Homework → Create |
| Grade homework | Homework → open the assignment |
| Upload exam questions | Submissions Board |
| Write a lesson plan | Lesson Plans → Create |
| Message parents | Communication → Compose |
| See my timetable | My Schedule → My Timetable |
14. Common issues
I cannot see a class I teach
An admin must assign you to that class and subject — and you need a timetable slot or a class-teacher assignment for that class. Ask your admin to check both.
Scores I entered are missing
Make sure you clicked “Save All” at the bottom of the score grid. It does not save automatically.
My SMS to parents did not arrive
Open Communication → Sent and click the message to see delivery status per recipient. Common causes: a wrong phone number, the parent’s phone off, or the SMS gateway out of credit (tell your admin).
I forgot to take attendance yesterday
Registers can be back-dated within a few days — change the date picker on the Class Register page.
Email support@henapp.org or visit www.henapp.org. For day-to-day questions, your school administrator is your first point of contact.
15. Switching languages (English / French)
The platform supports more than one language. Your school chooses which languages are enabled — usually English and French.
- Look at the header bar at the top of the screen for a small language toggle (e.g. “EN” / “FR”).
- Click the language code you want. The page reloads in that language.
- Your choice is remembered for the rest of your session.