
This guide walks you through the workflows you will use on the Henapp Educare platform. Each section explains a task with clear, step-by-step instructions. Use the screenshot space beside each section to paste your own captures (Windows + Shift + S), or ask your IT lead to add them.
1. First-time login

Your school administrator gives you a login URL plus your email/username and a temporary password. The login URL is your school portal address with /login at the end.
Step by step
- Open the login URL in your browser — Chrome, Edge, or any modern browser.
- Type your email address (or your school-assigned username) in the first box.
- Type your password in the second box. Passwords are case-sensitive.
- Tick “Remember me” only on a device you alone use. Leave it unticked on shared or family devices.
- Click “Sign In”.
First thing to do: change your password
- Click your name in the top-right corner of the screen.
- Choose “Profile” (or “My Profile”) from the dropdown menu.
- Find the “Change Password” section.
- Type your current temporary password, then your new password twice.
- Click “Update Password”.
If you forget your password
- Click “Forgot password?” on the login page. If your school has set up email, a reset link is sent to you.
- Or ask your school administrator to reset it — they can set a temporary password for you from the admin panel.
Never share your password. Shopkeepers see real student and school data — treat your login like a bank login. Always sign out on a shared computer.
2. Your shop dashboard
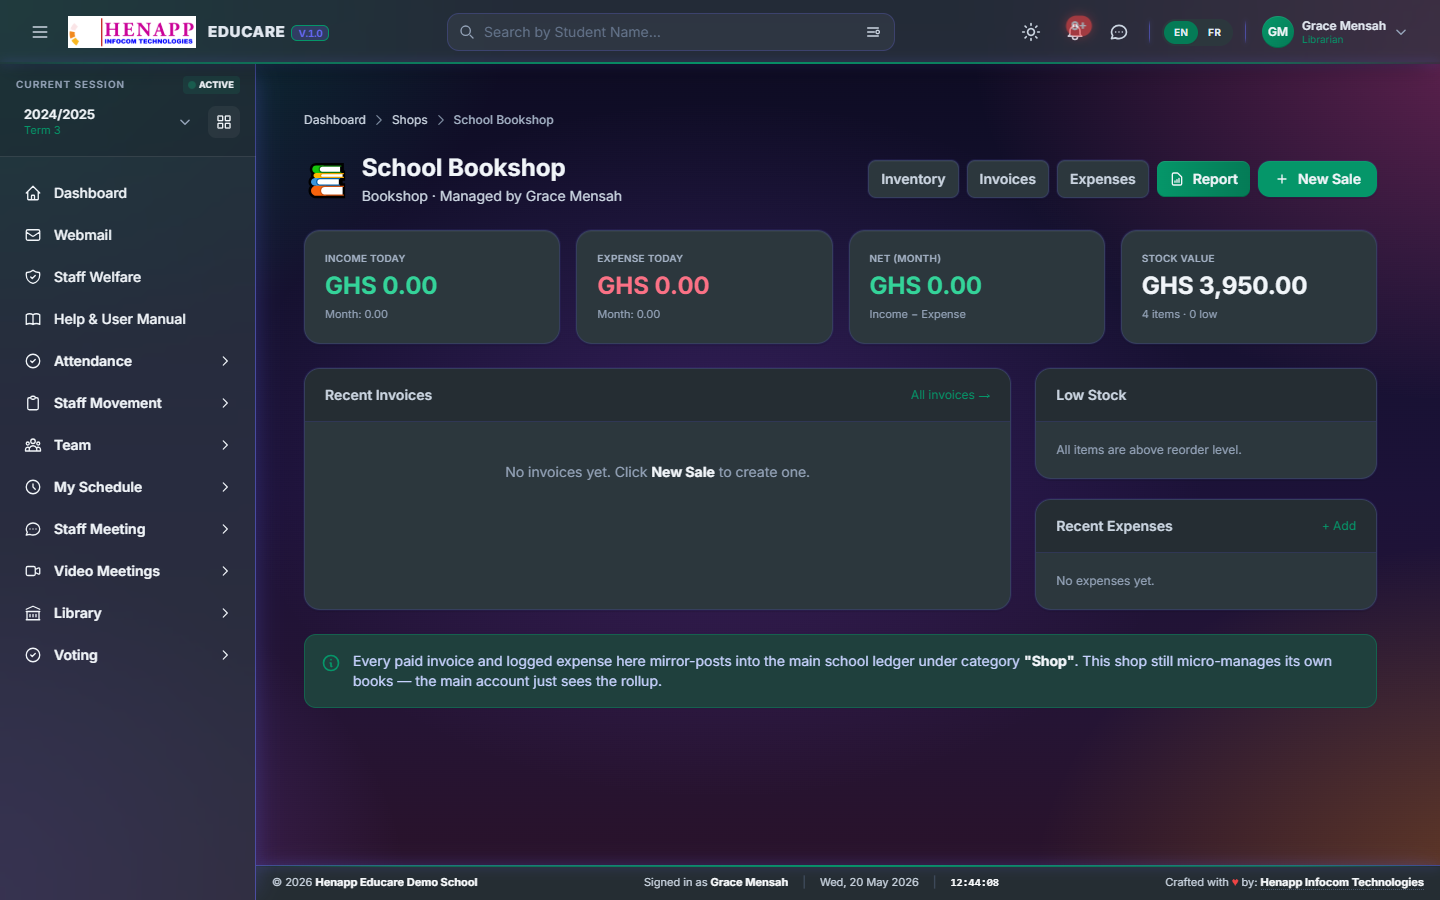
After login you land on YOUR shop's page (Bookshop, Uniforms, Stationeries, or Cafeteria — whichever you manage). The dashboard shows the figures you care about at a glance.
- Today's income and expenses.
- This month's income and expenses.
- Stock items low or out of stock.
- Quick links to add an invoice, log an expense, or run a report.
You only see your own shop. Other shops in the school are hidden — the admin can see Overview across all shops.
3. Stock — items and quantities
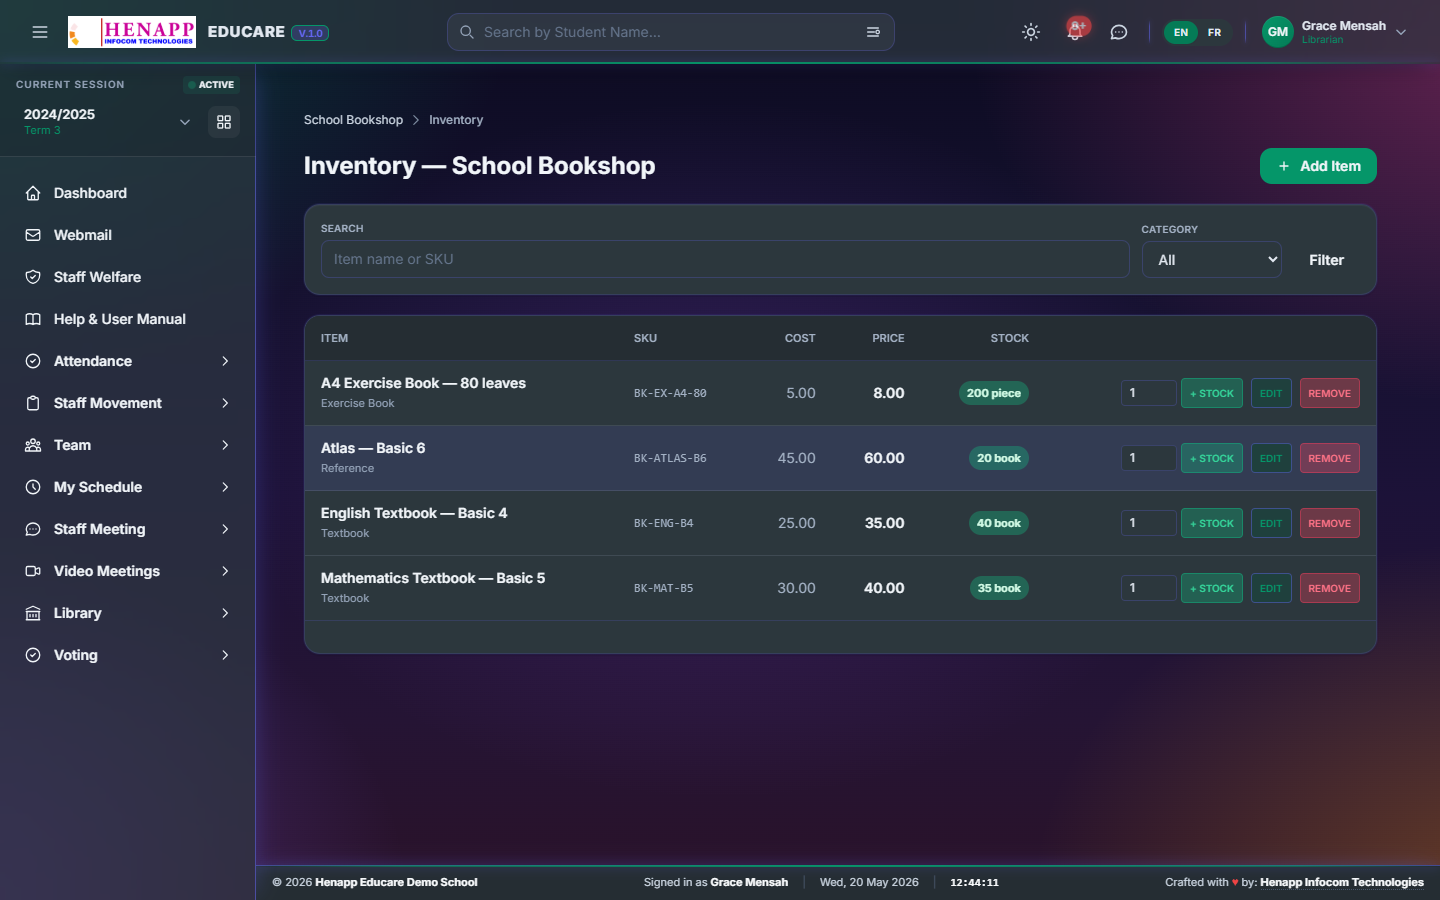
Sidebar → Shops → (your shop) → Items. This is your master list of what the shop sells.
Adding a new item
- Click "Add Item".
- Fill in: name, code (optional), category (e.g. Textbook, Uniform, Snack), unit price, opening stock.
- Save. The item appears in your list and is now sellable.
Adjusting stock
- Open the item row → click "Adjust Stock".
- Pick the type — Receipt (you received new stock from a supplier), Wastage (damaged / expired), or Correction (re-count fix).
- Enter the quantity and an optional note.
- Save. The stock balance updates immediately.
Pricing changes
- Open the item → edit the unit price → save.
- The new price applies to all invoices created from this point on. Past invoices are not retroactively repriced.
4. Selling — invoices
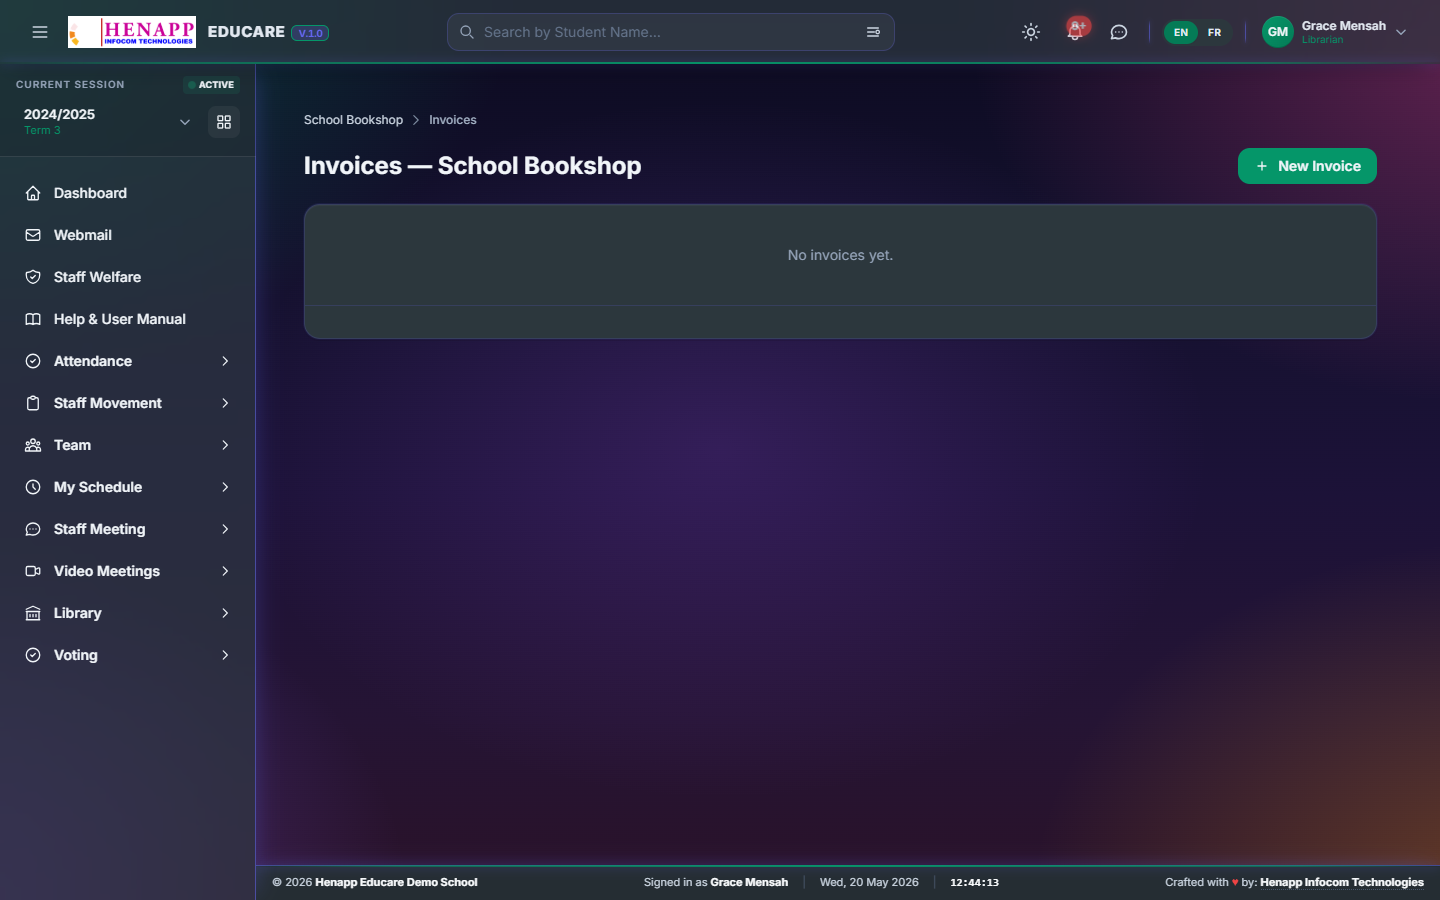
Every sale is an invoice. Sidebar → Shops → (your shop) → Invoices → "New Invoice".
Single sale (one customer)
- Pick the customer — a student (drop-down lists students with their class), or "Walk-in" for cash sales.
- Add line items — choose the item, quantity. Price auto-fills from stock; you can override per line.
- Pick the payment method (cash, momo, transfer).
- Save & print receipt. Stock is deducted automatically.
Class-bulk sale (bookshop / uniforms)
- Open the "Class Bulk" tab.
- Pick the class — every active student in the class is listed.
- Tick the items (e.g. "Maths textbook", "Uniform shirt"); each ticked student gets the same invoice.
- Save. One invoice per student is created in a single click. Receipts print as a batch.
Open Invoices, filter by Today and your payment methods. The totals at the top match what should be in your cash box. Any mismatch flags a missing or duplicated receipt — investigate before closing for the day.
5. Expenses
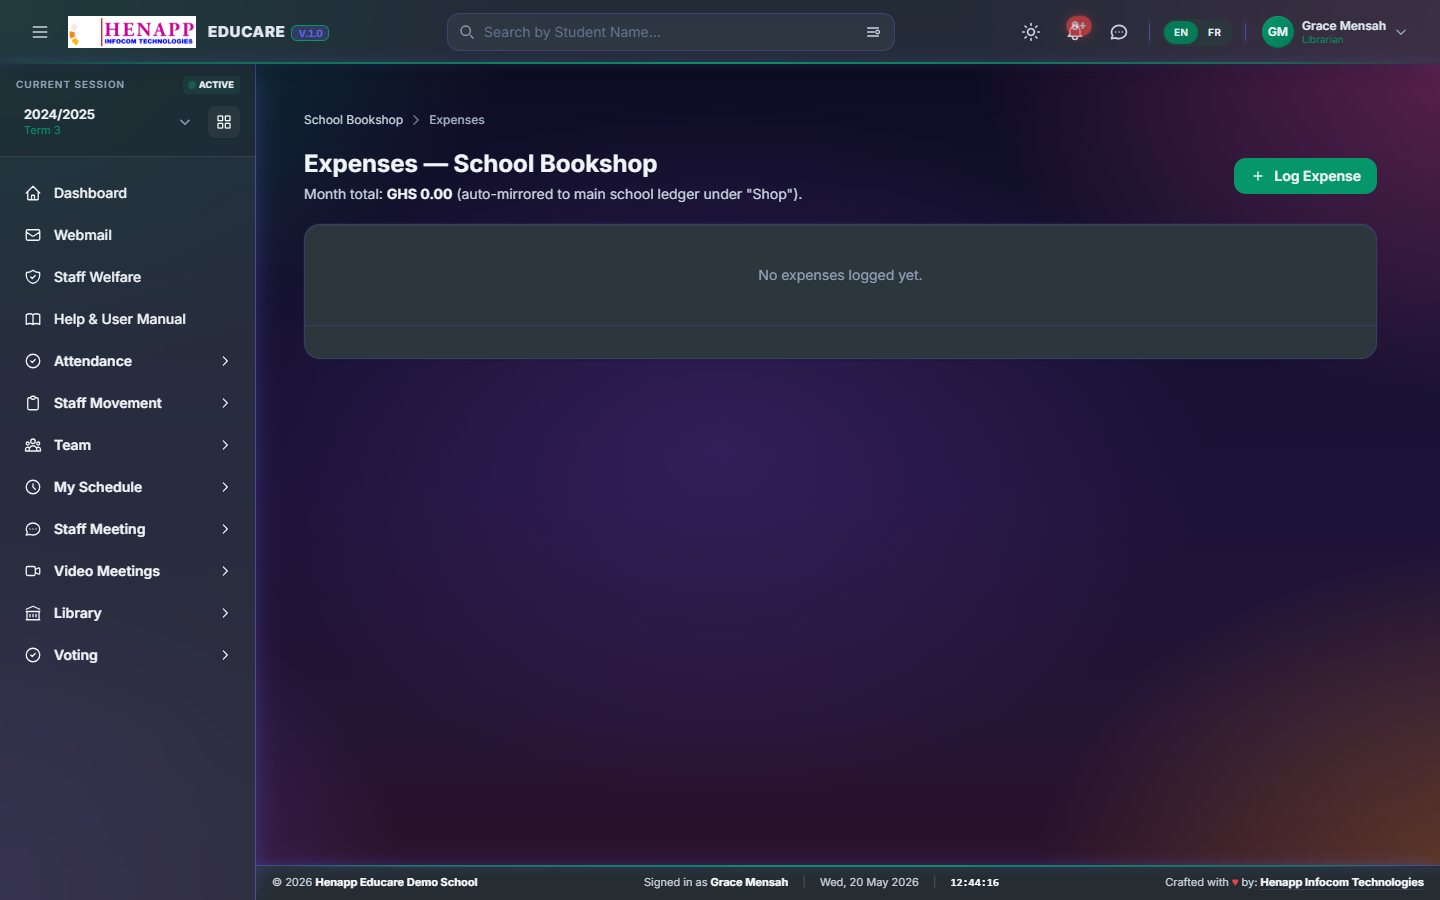
Anything you spend FROM the shop (re-stock from a supplier, repairs, transport) is logged here. Sidebar → Shops → (your shop) → Expenses.
- Click "New Expense".
- Fill in: date, category (Re-stock / Repairs / Logistics / Other), amount, supplier name, optional note.
- Attach a receipt photo if you have one.
- Save. The expense shows in this month's totals on the dashboard.
6. Reports
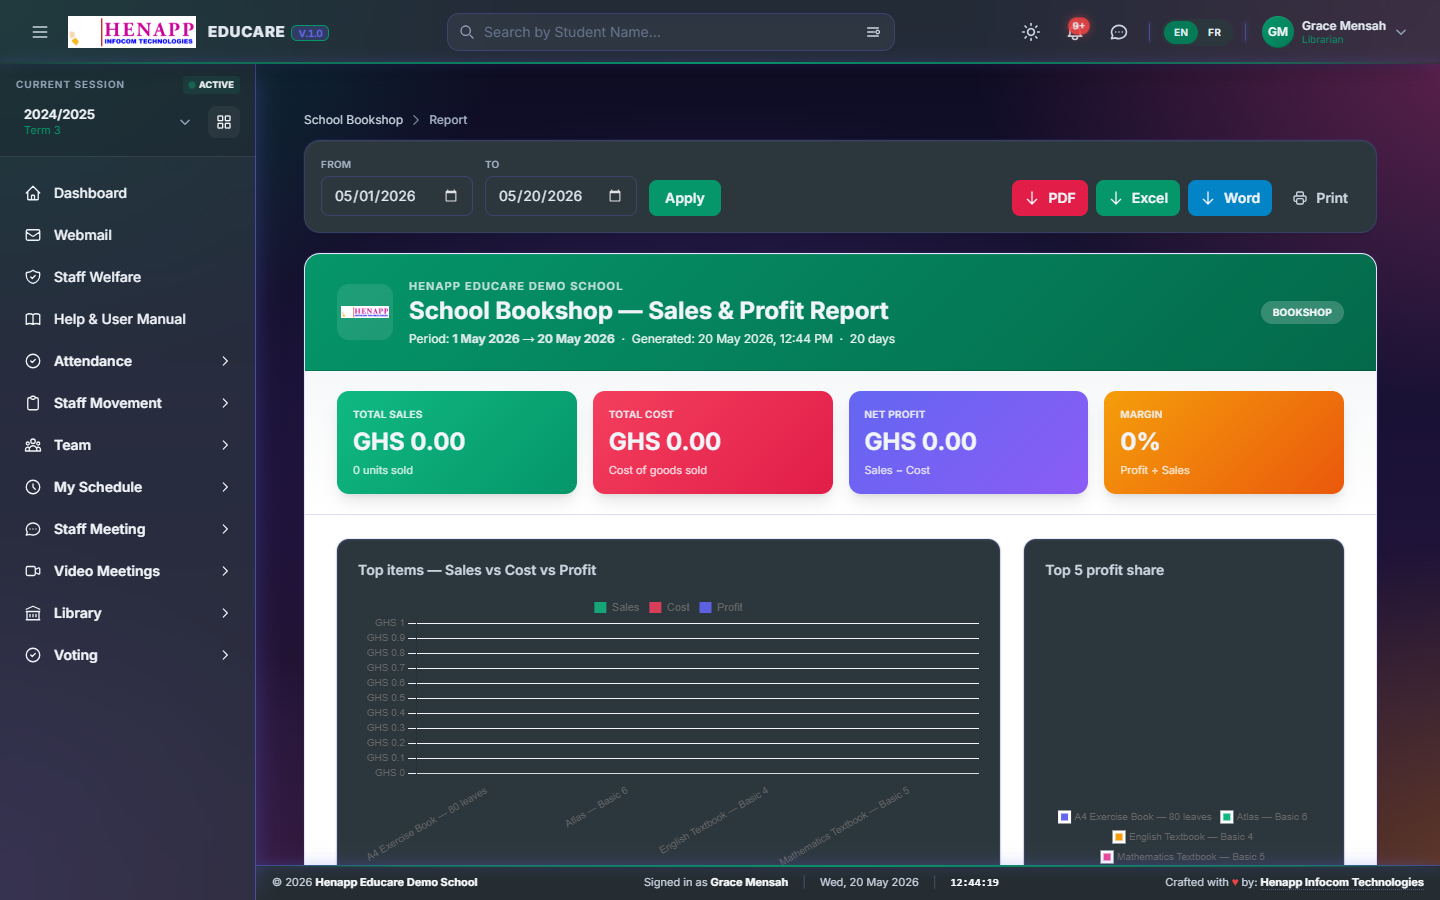
Sidebar → Shops → (your shop) → Report. The report builds itself from your invoices and expenses.
- Pick a date range — today, this week, this month, this term, or a custom range.
- Pick a format — on-screen, PDF (printable, A4), Excel (for the bursar), or Word.
- Click "Generate". The PDF has your school's letterhead and the system footer — fit for handing to the admin.
7. A typical day
- Open the dashboard — check overnight stock alerts.
- Greet customers, ring sales through Invoices.
- Add new stock arrivals via Items → Adjust Stock → Receipt.
- Mid-afternoon: log the day's expenses.
- Close of day: cash-up against the Invoices total for today.
8. Common issues
My item shows 0 stock but I just sold one
Open the item — you sold the last unit. The next Receipt adjustment (when new stock arrives) will pull it positive again.
A parent says their child was double-billed for a uniform
Open Invoices, search by the student's name. If two invoices exist on the same day with the same line, open the duplicate and click "Void Invoice" — stock is restored, money refunded by your preferred channel.
I cannot see another shop
That is by design. Each shopkeeper sees only the shop assigned to them. If you genuinely need to cover another shop, ask the admin to set you as that shop's manager too.
Email support@henapp.org or visit www.henapp.org. For day-to-day questions, your school administrator is your first point of contact.
9. Switching languages (English / French)
The platform supports more than one language. Your school chooses which languages are enabled — usually English and French.
- Look at the header bar at the top of the screen for a small language toggle (e.g. “EN” / “FR”).
- Click the language code you want. The page reloads in that language.
- Your choice is remembered for the rest of your session.